Danny D.
2016-08-11 15:12:08 UTC
In another thread we discussed a constantly problematic Zurn Wilkins 975XL
1-inch backflow-prevention valve, that doesn't actually do anything (since
it's on top of a hill).
I thought I had fixed the leaking valve - but it started leaking again, so,
I completely give up on fixing that poor design since I've taken it apart a
dozen times and there's nothing I can see that is wrong with it. Yet it
leaks.
And, even if I did fix it, it will invariably leak again soon.
I'm not a plumber, so, my only question is clarification of the two spots
that were suggested to *remove* the valve (and replace with a pipe).
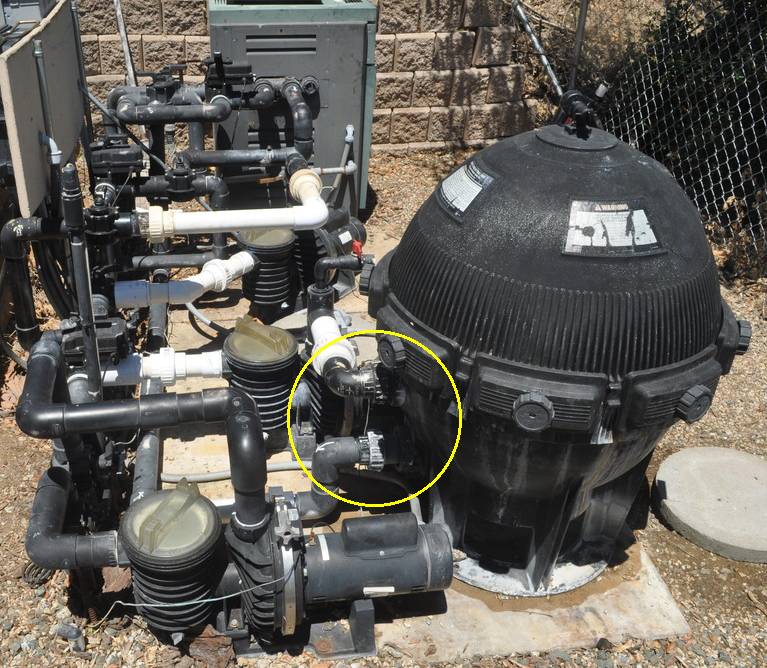
Would you kindly look at this picture and advise me which location is the
removal point? (I'm confused because twisting a pipe in one direction
simply tightens it in the other direction.)
Loading Image...
1-inch backflow-prevention valve, that doesn't actually do anything (since
it's on top of a hill).
I thought I had fixed the leaking valve - but it started leaking again, so,
I completely give up on fixing that poor design since I've taken it apart a
dozen times and there's nothing I can see that is wrong with it. Yet it
leaks.
And, even if I did fix it, it will invariably leak again soon.
I'm not a plumber, so, my only question is clarification of the two spots
that were suggested to *remove* the valve (and replace with a pipe).
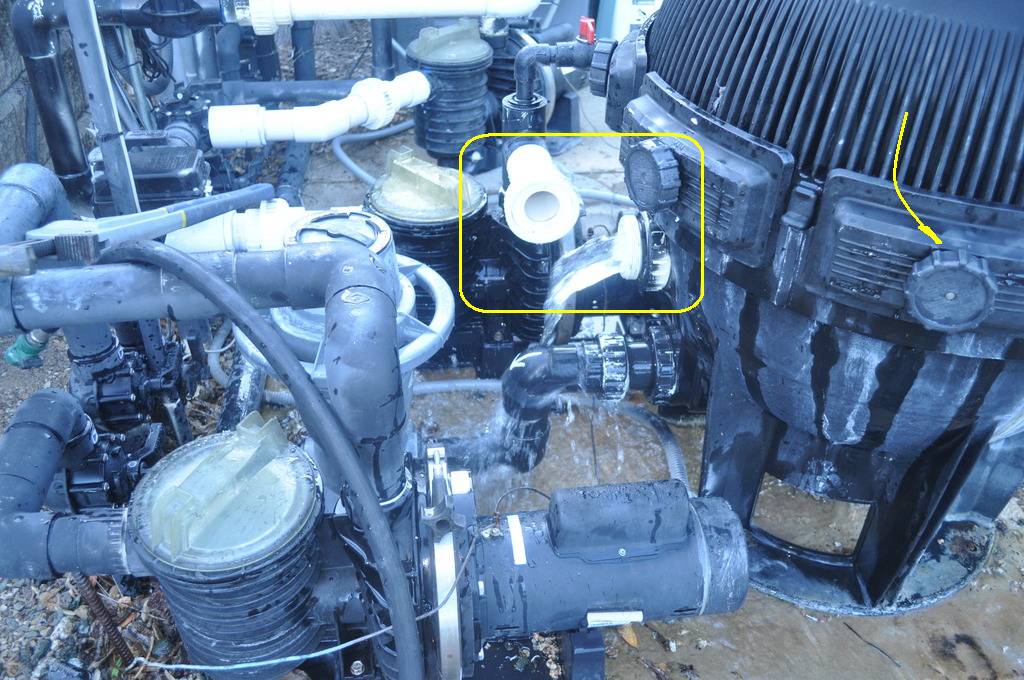
Would you kindly look at this picture and advise me which location is the
removal point? (I'm confused because twisting a pipe in one direction
simply tightens it in the other direction.)
Loading Image...